
Poor insulation often hides behind walls, ceilings, and floors. A trained professional identifies these weak spots by reading physical signs, checking airflow patterns, and reviewing how a home behaves during temperature changes. Through visual checks and targeted testing, Insulation experts pinpoint where heat loss or gain occurs and explain why comfort issues persist.
This guide explains how detection works, what tools are used, and which areas fail most often. The details reflect field experience and practical inspection methods used in residential properties.
Why Identifying Poor Insulation Matters
Homes with uneven insulation often feel drafty, noisy, or costly to heat and cool. Detecting gaps early helps prevent long-term energy loss and comfort problems.

Professionals rely on observation and measurement rather than guesswork. Market data shows that homes with insulation gaps can lose up to 25 percent of conditioned air through unnoticed openings.
Visual Signs That Point to Insulation Gaps
Many insulation problems appear without tools. Experienced Insulation services teams know what to look for during a walkthrough.
Interior Warning Signs
Walls and ceilings often show subtle clues. These signs guide the inspection process.
Common Visual Indicators
- Cold or hot wall sections during seasonal extremes
- Uneven indoor temperatures between rooms
- Dust streaks near vents or baseboards
These signs often signal missing or compressed insulation behind finished surfaces.
Exterior Clues Around the Structure
Outdoor inspection also matters. Snow melt patterns on roofs or ice buildup near eaves can point to insulation gaps.

Tools Used to Detect Hidden Insulation Problems
Visual checks are only the first step. Professionals use tools to confirm findings and locate hidden issues.
Thermal Imaging Cameras
Thermal imaging shows surface temperature differences. Cooler or warmer patches reveal areas where insulation fails.
Air Leakage Testing
Air movement tests help locate leaks that reduce insulation performance. Homes with high air leakage often struggle to maintain steady indoor comfort.
Inspection Method Comparison
|
Detection Method |
What It Reveals |
Best Use Case |
|---|---|---|
|
Visual inspection |
Surface clues |
Early screening |
|
Thermal imaging |
Temperature gaps |
Hidden wall issues |
|
Air testing |
Draft paths |
Sealing priorities |
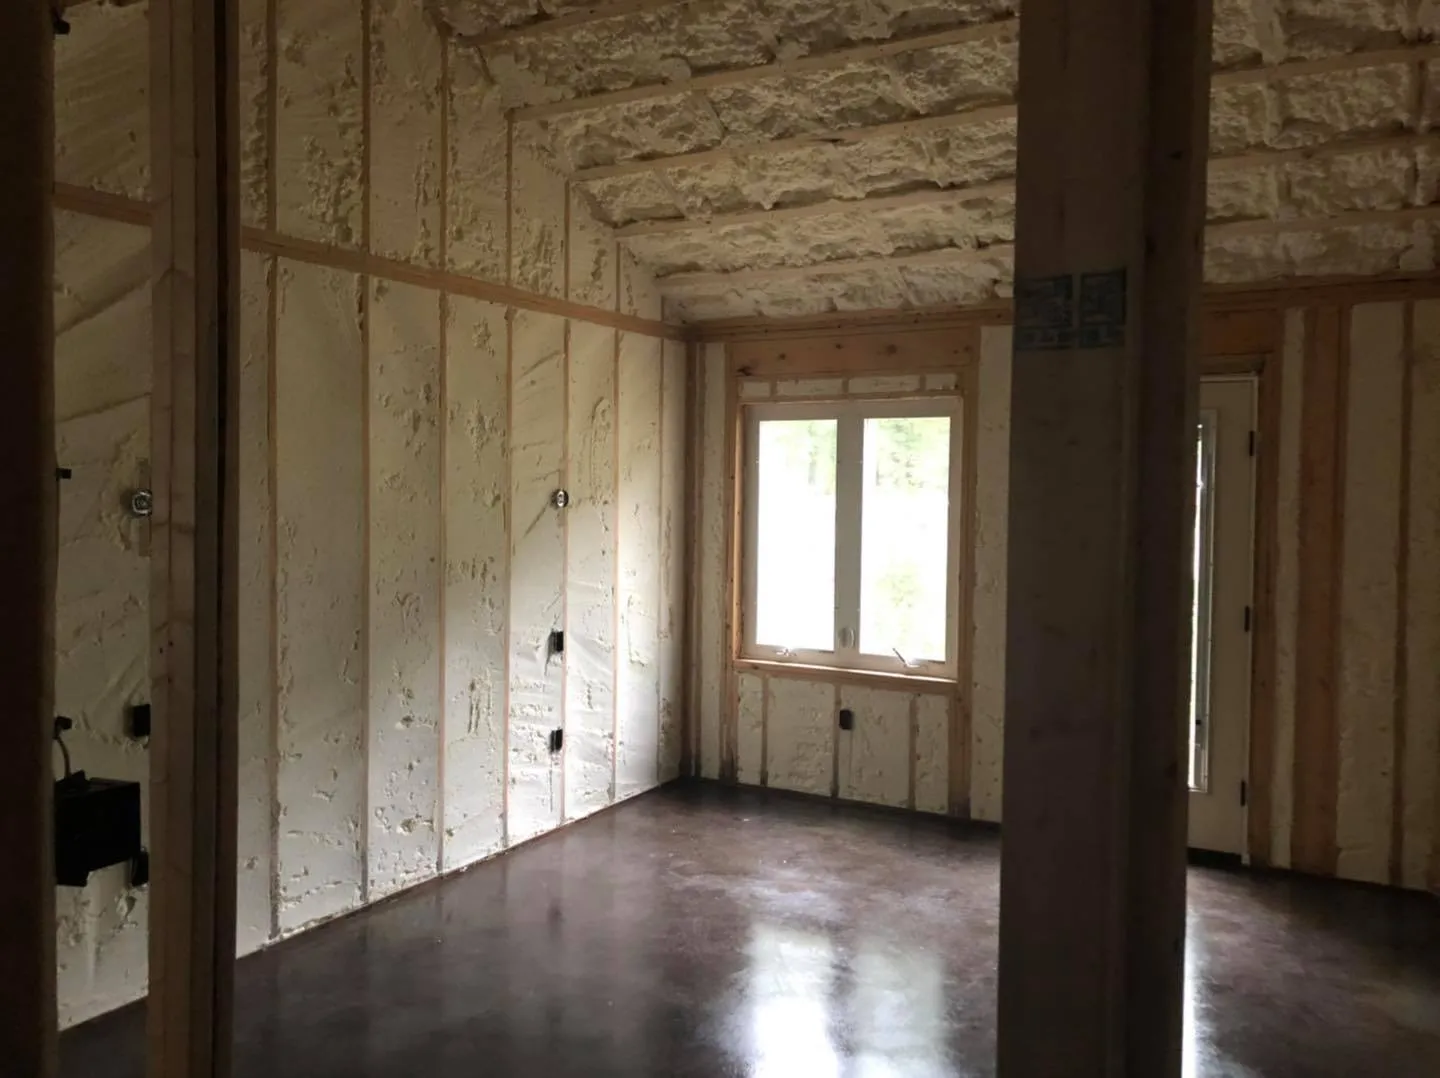
In some retrofit projects, Blown-In Cellulose Insulation supports repairs after problem areas are clearly identified.
Areas Most Often Found With Poor Insulation
Certain parts of a home fail more often than others. Experienced Insulation contractor teams focus on these zones first.
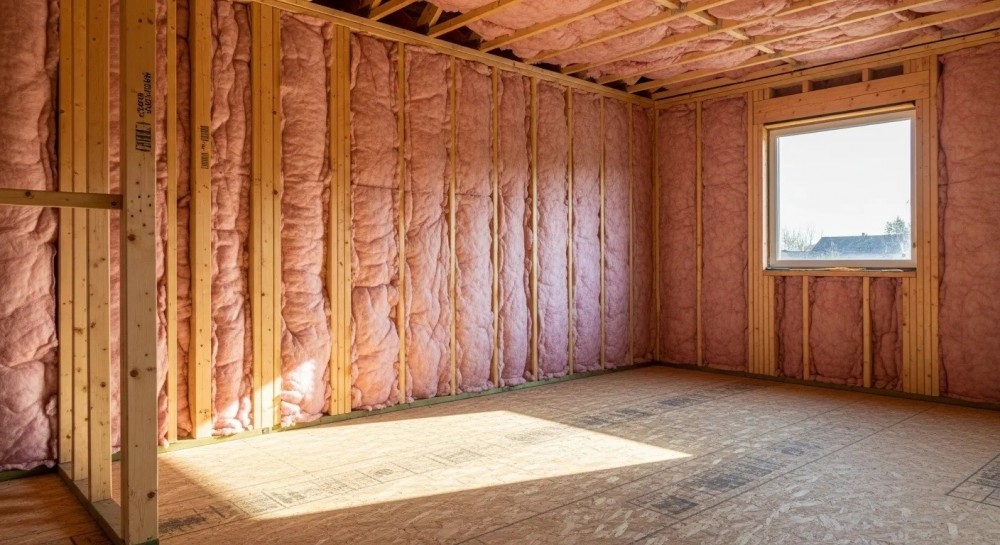
Attics and Rooflines
Older homes often lack consistent attic coverage. Insulation may be thin, uneven, or disturbed by past work.
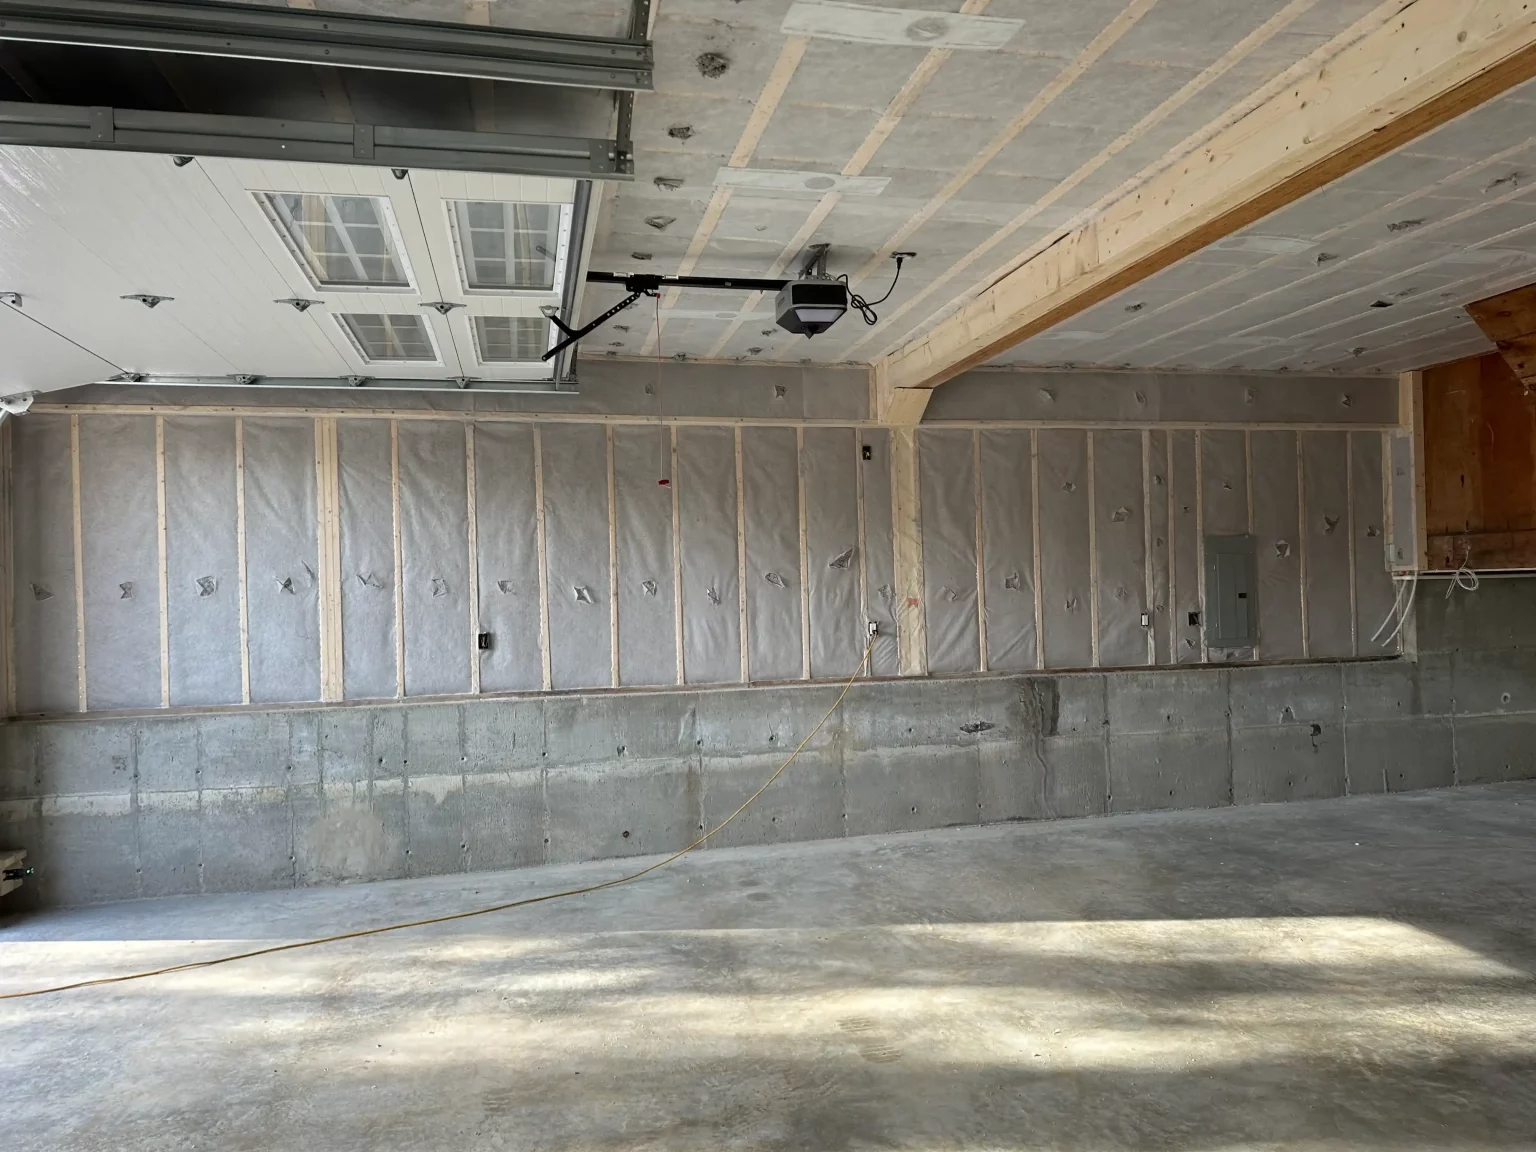
Basements and Rim Joists
Cold floors often trace back to rim joists with little insulation. These areas allow air leakage and temperature transfer.
Walls With Past Renovations
Walls opened and closed during updates may contain gaps or mismatched materials.
Bonus Tips for Homeowners
- Check attic access panels for proper sealing.
- Feel for drafts near outlets on exterior walls.
- Review insulation depth after any renovation work.
Regional Factors That Affect Insulation Performance
In colder climates, insulation gaps show faster. Seasonal temperature swings highlight weak spots through condensation, drafts, and comfort loss.
Homes built before modern efficiency standards often show uneven insulation coverage. These properties benefit from detailed inspections by Insulation company teams familiar with regional building styles.
Things to Consider Before Making a Decision
Detection is only useful when paired with planning. Homeowners should weigh these factors before moving forward.
Home Age and Layout
Older framing methods may limit access. Detection helps plan realistic upgrades.
Energy and Comfort Goals
Not all gaps require full replacement. Some areas only need targeted sealing.
Budget Planning
Clear detection helps avoid unnecessary work and focuses spending where it matters most.
Key Takeaways for Homeowners
Detecting poor insulation requires trained observation and proper tools. Professionals identify gaps, explain their impact, and outline practical next steps. Homeowners benefit most when detection guides targeted improvements rather than broad assumptions.
Next Steps for Insulation Evaluation
Homeowners seeking professional guidance may contact Lamothe Insulation for inspection-related questions. They can be reached at LamotheInsulation@gmail.com or by phone at (508) 847-0119 to discuss evaluation options suited to their property.
Questions People Ask About Insulation Detection
Can insulation problems exist without visible damage?
Yes. Many issues hide behind finished surfaces and show no surface damage.
How long does an inspection take?
Most residential inspections take one to two hours.
Do all homes need testing tools?
Not always. Visual signs often guide whether tools are needed.
Can poor insulation affect indoor noise?
Yes. Gaps allow sound to move between rooms and floors.
Is detection useful before buying a home?
Yes. It helps buyers understand future energy and comfort costs.
Author: With over two decades of hands-on experience, Robert Lamothe, owner and lead installer of Lamothe Insulation, brings extensive knowledge in insulation work and residential construction dating back to 2002.
Reviewer: Ethan Taylor has 8 years of experience in insulation services and reviewed this content to ensure clarity, accuracy, and practical relevance.


