
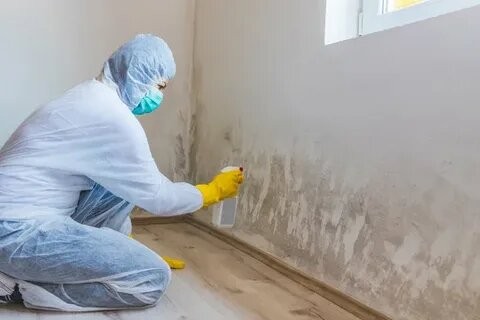
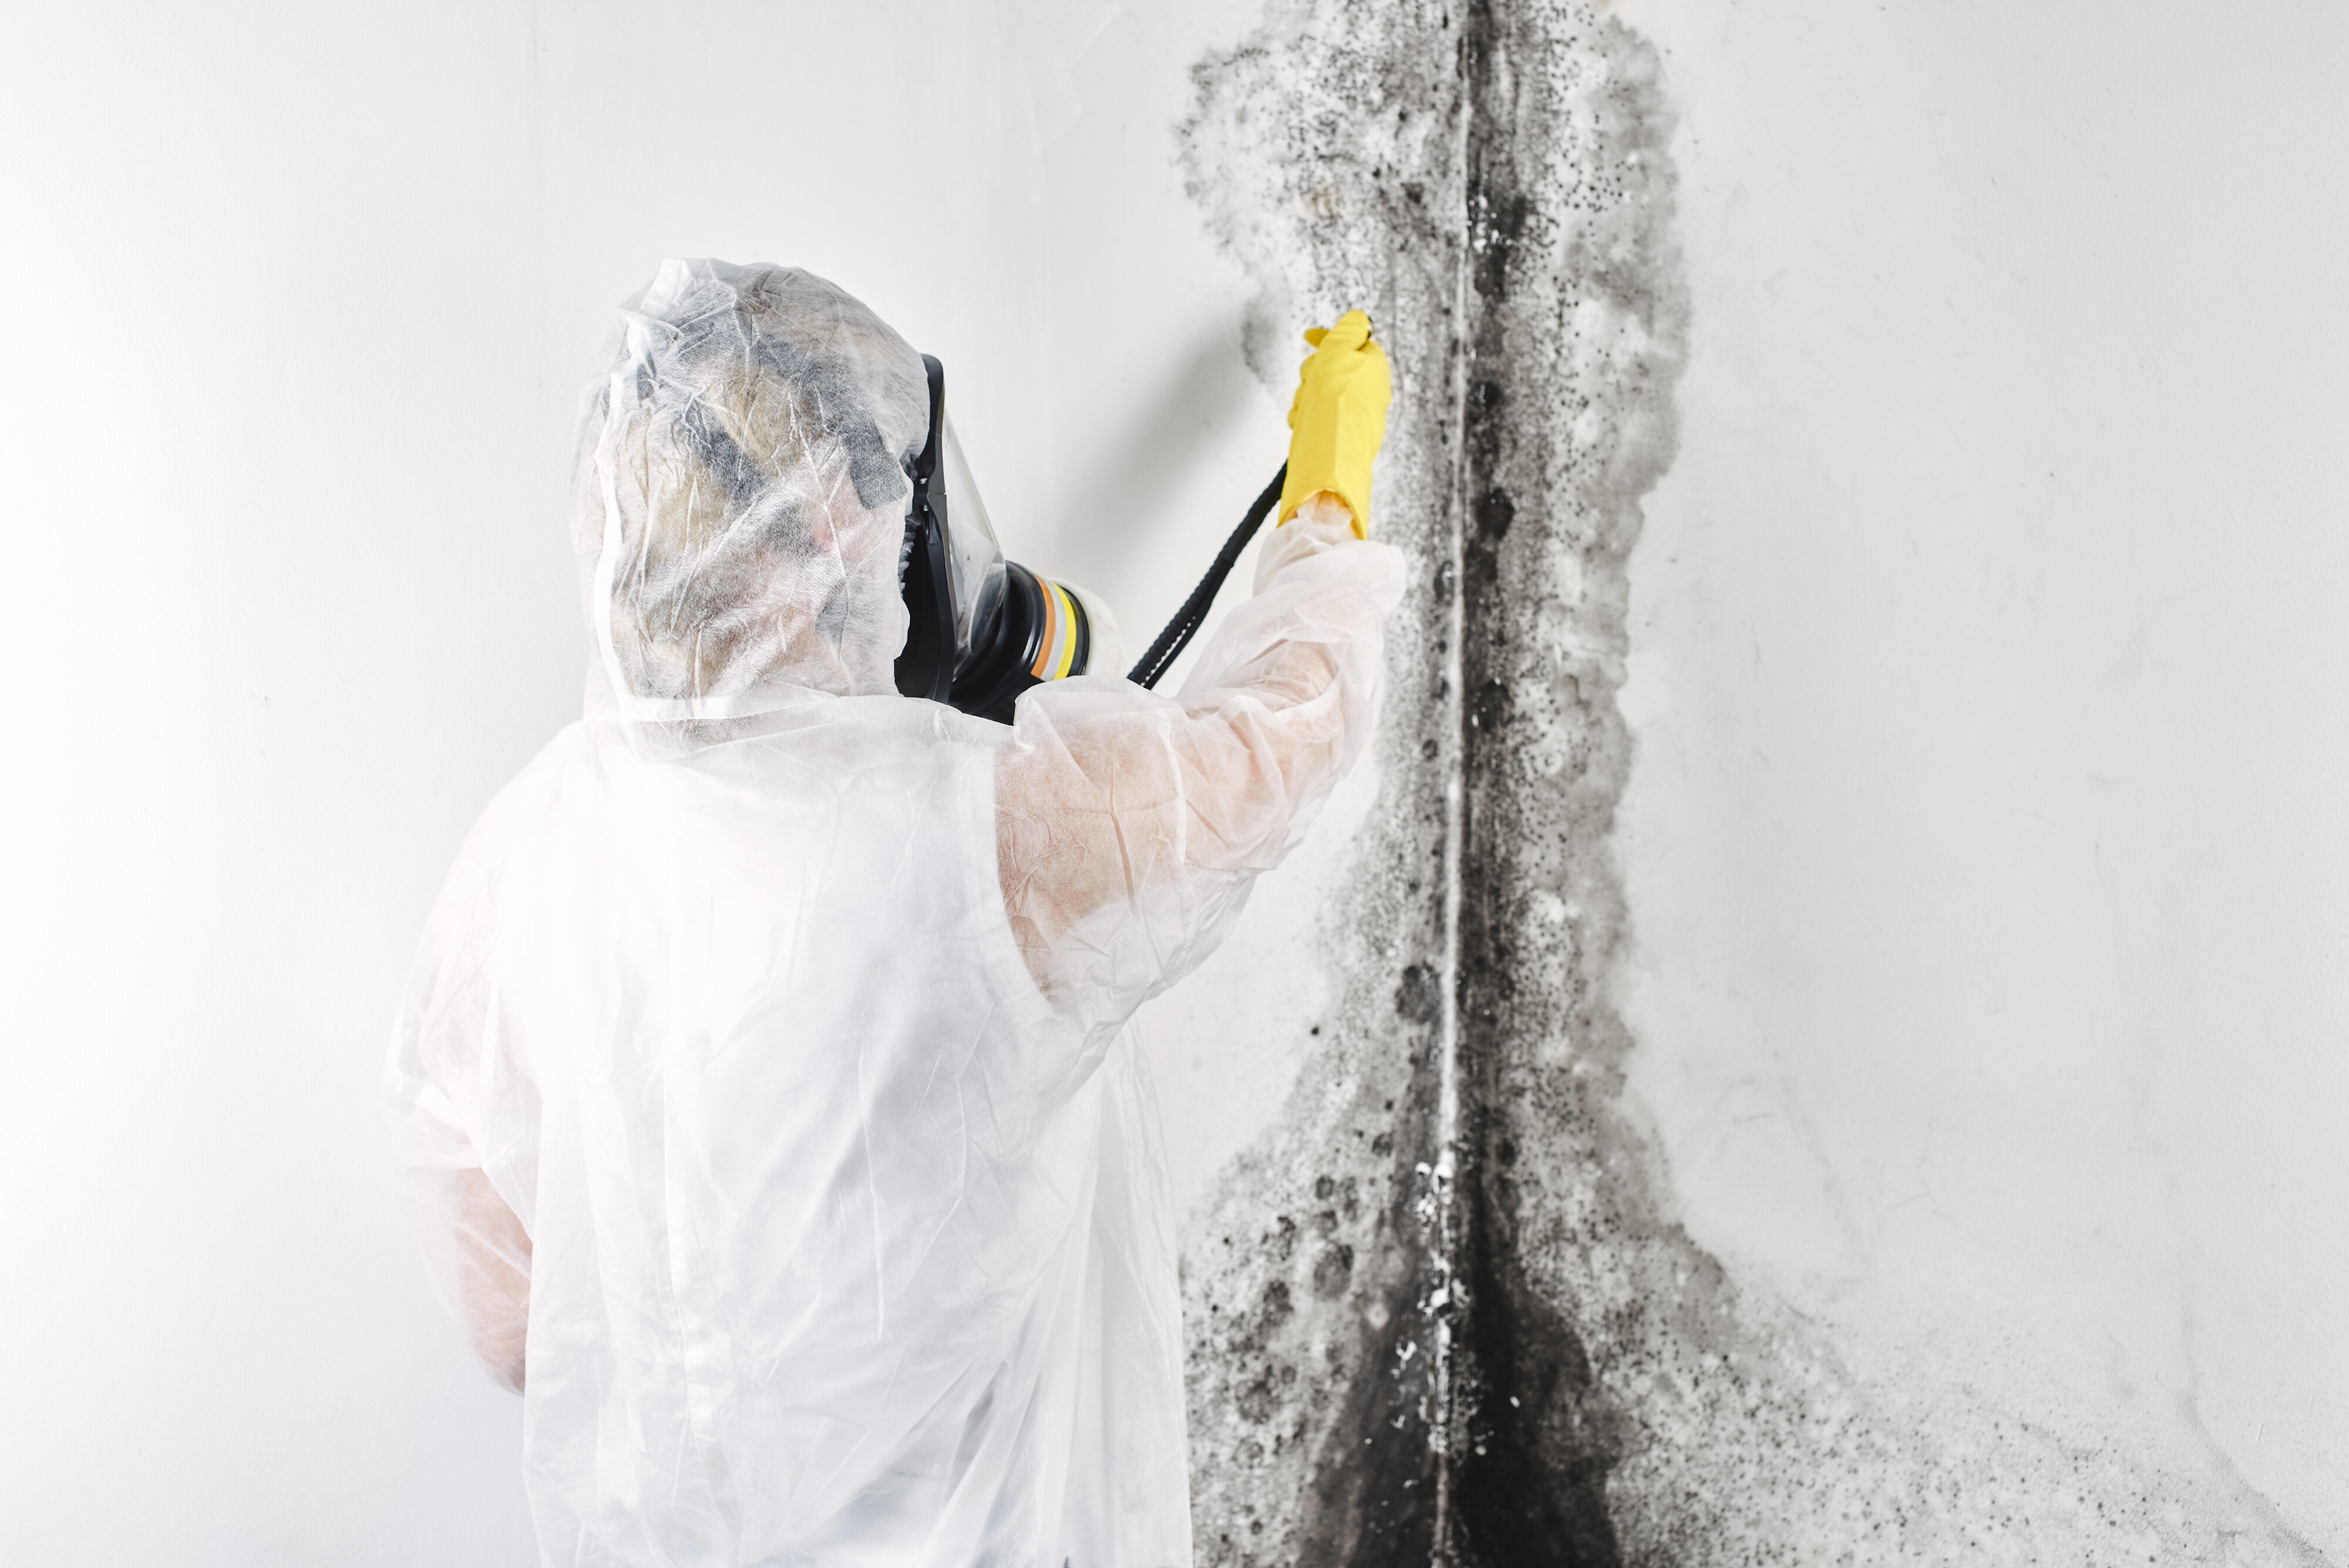
A standard Mold Mitigation process involves inspection, containment, removal of contaminated materials, cleaning, drying, and final verification. The goal is to stop mold growth at its source, remove active colonies safely, and restore safe indoor conditions.
Professional mold mitigation services follow structured protocols to prevent cross contamination and protect occupants. This article outlines each stage of the mold mitigation process, explains what property owners can expect, and highlights practical factors that influence results.
This information reflects established restoration practices used in residential properties across moisture prone regions.

Mold Mitigation Starts With Inspection And Assessment
Every Mold Mitigation project begins with identifying the source of moisture.
Locating The Moisture Problem
Technicians inspect visible mold growth and test surrounding areas for hidden moisture. They use moisture meters and thermal imaging tools to detect damp drywall, insulation, or subflooring.
Without correcting the moisture source, mold removal will fail.

Determining The Scope Of Contamination
Professionals assess how far spores may have spread. They evaluate HVAC systems, wall cavities, and porous materials.
The Environmental Protection Agency reports that mold can begin growing within 24 to 48 hours of moisture exposure. Early inspection reduces structural damage and cleanup costs.
Containment Prevents Mold From Spreading
Containment protects unaffected areas of the property.
Creating Physical Barriers
Technicians seal off affected rooms using plastic sheeting and tape. They install negative air machines with HEPA filtration to control airborne spores.
This prevents contamination from spreading during removal.
Establishing Controlled Airflow
Air pressure is managed so that air flows into the containment area, not out of it. This step is essential during mold mitigation in occupied homes.
Improper containment can spread spores through ductwork and open doorways.
Removing Mold Contaminated Materials
Not all materials can be cleaned and saved.
Safe Removal Of Porous Materials
Items commonly removed include:
- Drywall
- Carpet padding
- Insulation
- Ceiling tiles
These materials absorb spores and moisture. Disposal follows local waste guidelines.
Cleaning Structural Surfaces
Non porous or semi porous materials such as wood framing may be cleaned using antimicrobial treatments and HEPA vacuuming.
The mold mitigation process focuses on physical removal of growth, not just surface spraying.
Drying And Moisture Control
Drying is critical after mold removal.
Industrial Drying Equipment
Air movers and dehumidifiers reduce humidity to safe levels. Relative indoor humidity should remain below 60 percent to discourage regrowth.
In humid regions such as the Pacific Northwest, extended drying time may be required due to frequent rainfall and elevated ambient moisture.
Monitoring Moisture Levels
Technicians track moisture readings daily. Equipment remains in place until readings return to acceptable levels.
Insurance data suggests that unresolved moisture issues contribute to repeat mold claims within the first year after restoration.
Cleaning Air And Surfaces
Air quality restoration follows material removal.
HEPA Vacuuming And Wipe Down
All surfaces inside containment are vacuumed and wiped using approved cleaning agents. This reduces residual spores.
Air Scrubbing
HEPA air scrubbers filter microscopic particles from the air. This improves indoor air quality before final clearance.
Air quality management is a core part of the mold mitigation process, not an optional step.
Final Verification And Clearance
Before containment is removed, technicians confirm conditions are safe.
Moisture Confirmation
They recheck moisture levels in walls and floors.
Visual Inspection
All visible mold must be removed. Surfaces should appear clean and dry.
Some projects may include third party air sampling for added assurance.
Standard Timeline Of A Mold Mitigation Project
|
Phase |
Typical Duration |
Purpose |
|---|---|---|
|
Inspection And Assessment |
1 Day |
Identify scope and moisture source |
|
Containment Setup |
Same Day |
Prevent spore spread |
|
Material Removal |
1 to 3 Days |
Remove contaminated materials |
|
Drying |
2 to 5 Days |
Reduce moisture to safe levels |
|
Cleaning And Clearance |
1 Day |
Confirm safe indoor conditions |
Project length depends on severity and climate conditions.
Things To Consider Before Making A Decision
Property owners should review several factors before hiring a mold mitigation provider.
Source Of Moisture
Roof leaks, plumbing failures, and poor ventilation each require different corrective steps.
Experience With Containment
Improper containment can spread mold beyond the original area.
Equipment Standards
Professional grade HEPA filtration and calibrated moisture meters improve accuracy.
Documentation
Clear reporting supports insurance claims and future resale transparency.
Practical Knowledge From The Field
Experienced teams understand patterns that are not always visible at first glance.
Hidden Mold In HVAC Systems
Spores can settle inside ductwork. Inspecting HVAC systems reduces recurring issues.
Ventilation In Bathrooms And Kitchens
High humidity rooms often trigger mold growth.
Bonus Tip
Run exhaust fans for at least 20 minutes after showers to reduce condensation buildup.
Climate Awareness Matters
In coastal climates, crawl spaces often trap moisture. Vapor barriers and proper ventilation reduce long term risk.
Mold Mitigation Protects Property And Health
Mold Mitigation addresses contamination at its source and restores safe indoor conditions. Inspection, containment, removal, drying, and verification each serve a clear purpose.
Delays allow growth to spread into structural materials. Property owners should evaluate moisture sources, containment practices, and documentation before selecting a provider. Early action reduces health risks and long term repair costs.
Schedule A Professional Mold Assessment
When signs of mold appear, prompt evaluation helps limit damage. Prestige NW Restoration provides structured mold mitigation and moisture control services based on industry standards. They can be reached at (360) 334-3624 or dispatch@prestige-nw.com for consultation.
Early assessment supports safer indoor air and reduces the likelihood of recurring growth.
Questions People Ask About Mold Mitigation
How long does mold mitigation usually take?
Most residential projects take three to seven days depending on size and moisture levels.
Can mold return after mitigation?
Yes, if the moisture source is not fixed. Mold mitigation must include moisture correction.
Is mold mitigation covered by insurance?
Coverage depends on the cause of loss. Sudden water damage is often covered, while long term neglect may not be.
Do occupants need to leave during the process?
In larger projects, temporary relocation may be recommended to limit exposure.
Does mold mitigation remove all spores?
Complete elimination of all spores is not possible. The goal is to return levels to normal indoor ranges.
Author: Kelly Kerns Established on April 2, 2012, Prestige NW is led by owner Kelly Kerns, who brings extensive experience in restoration, construction, and customer service. She supports field operations and marketing while providing clear guidance for homeowners.
Reviewer: Matthew Moore Matthew Moore brings over 15 years of experience in residential renovation marketing. His review helped refine this content to better serve homeowners seeking dependable restoration services.


