

Aluminium welding is often seen as one of the more challenging tasks in the world of metal fabrication. Known for its lightweight and corrosion-resistant properties, aluminium is widely used in various industries, including automotive, aerospace, and construction. However, welding aluminium presents a unique set of challenges due to its high thermal conductivity and oxide layer. This article is a comprehensive, professional account of how I went from basic knowledge to achieving near-perfect aluminium welds in just two days.
Understanding the Challenges of Aluminium Welding
Before diving into the actual welding, it was crucial to understand what makes aluminium welding distinct. Unlike steel, aluminium has a much higher thermal conductivity, meaning it dissipates heat rapidly. This can make it difficult to maintain the appropriate temperature for creating a strong weld.
Additionally, aluminium forms a tough oxide layer on its surface that melts at a significantly higher temperature than the base metal. If this oxide layer isn't adequately removed, it can cause contamination and lead to weak welds. These properties necessitate a special approach and proper technique.

NOTE:- Specialized aluminium welding works were performed for automotive and industrial sectors with exceptional finish and structural integrity. Projects were delivered on time and to spec.
Get in touch with Almaha Metal for expert welding solutions backed by experience.
Day 1: Preparation and Equipment Setup
Choosing the Right Welding Process
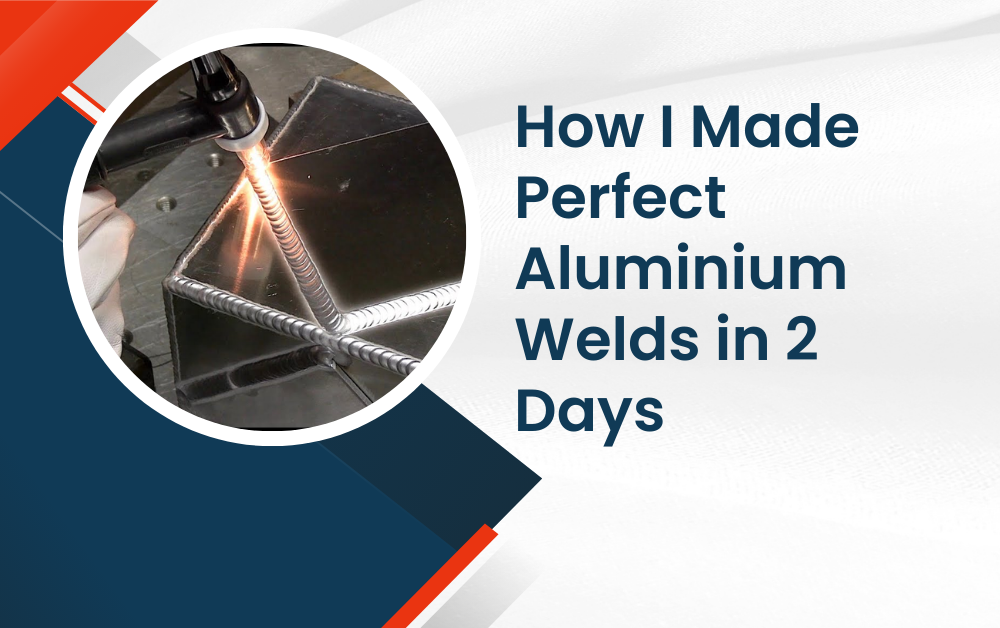
There are multiple methods for welding aluminium, but I chose Gas Tungsten Arc Welding (GTAW), also known as TIG welding. TIG welding is widely recommended for aluminium because it offers greater control, produces cleaner welds, and is suitable for thinner materials.
Assembling the Necessary Tools
To ensure a smooth learning curve, I gathered all the essential tools and materials:
- A TIG welder with AC (alternating current) capability
- Pure tungsten electrodes (typically EWP or 2% lanthanated)
- Argon gas for shielding
- Aluminium filler rods (4045 or 5356, depending on the base metal)
- A dedicated stainless steel wire brush
- Proper safety gear including gloves, helmet, and protective clothing
Cleaning the Aluminium
Thorough cleaning was a critical first step. Using a stainless steel brush, I scrubbed the welding area to remove the oxide layer. I followed this by wiping the surface with acetone to eliminate oils and other contaminants. This process was repeated for both the base metal and filler rod.
Practicing on Scrap Material
I spent several hours on the first day simply practicing on scrap aluminium pieces. My initial goal was to get comfortable with the equipment and understand how aluminium reacts to heat. I focused on:

- Establishing a steady hand and maintaining proper torch angle (typically 15 degrees from vertical)
- Keeping a consistent arc length (1/8 inch or less)
- Controlling heat input to avoid burn-through
Though the initial attempts were far from perfect, I made valuable observations regarding puddle formation and how quickly aluminium responds to heat.

Day 2: Refining Technique and Achieving Results
Mastering Torch and Filler Rod Coordination
With a foundational understanding in place, I moved on to more precise welding on day two. One of the main challenges was coordinating the movement of the torch and the filler rod. Feeding the filler rod smoothly into the weld pool without touching the tungsten electrode required focus and practice.
I used a rhythmic "dab and move" technique, which involved dabbing the filler into the weld pool and moving the torch in unison. This created uniform bead formation and minimized overheating.
Adjusting Machine Settings
Proper machine settings were pivotal in achieving high-quality welds. After some trial and error, I settled on the following settings for my specific application:
- Amperage: 80–120 amps (depending on material thickness)
- AC balance: 65% EN (Electrode Negative) to help clean the oxide layer
- Frequency: 100–120 Hz for a tighter arc and better control
Fine-tuning these parameters allowed for deeper penetration and cleaner welds.
Tack Welding and Joint Fit-Up
Good joint preparation and tack welding were essential to avoid distortion and maintain alignment. I ensured that the workpieces were clamped tightly and performed tack welds at strategic points before running full beads. This step was particularly helpful when welding longer sections or T-joints.
Continuous Evaluation and Adjustment
Throughout the process, I continuously inspected my welds and adjusted techniques as needed. Using a chipping hammer and wire brush, I cleaned the welds and examined them for signs of porosity, undercut, or insufficient fusion. Each weld was better than the last, and by the end of day two, I was producing smooth, shiny, and structurally sound welds.
Key Takeaways and Best Practices
My two-day aluminium welding journey taught me that perfection is the result of preparation, patience, and practice. Here are some key insights that contributed to my progress:
- Cleanliness is crucial: Always clean both the base metal and filler rods before welding.
- Start with TIG welding: For beginners seeking precision and control, TIG is the best choice.
- Maintain a consistent arc: Control arc length and torch angle to ensure stability.
- Control heat input: Use short weld runs and allow for cooling periods to prevent warping.
- Monitor your progress: Continuously inspect your welds and learn from mistakes.
Conclusion
While mastering aluminium welding often takes weeks or even months, focused and methodical practice can significantly shorten the learning curve. By dedicating two full days to learning, preparation, and hands-on work, I was able to produce near-perfect aluminium welds with confidence and consistency.
Whether you're a hobbyist or a professional, investing time in understanding the material, using the right equipment, and refining your technique can yield impressive results in a remarkably short span. With the right approach, even the toughest metals can be tamed.


