

Connect Epson Printer to MAC, epson printer setup
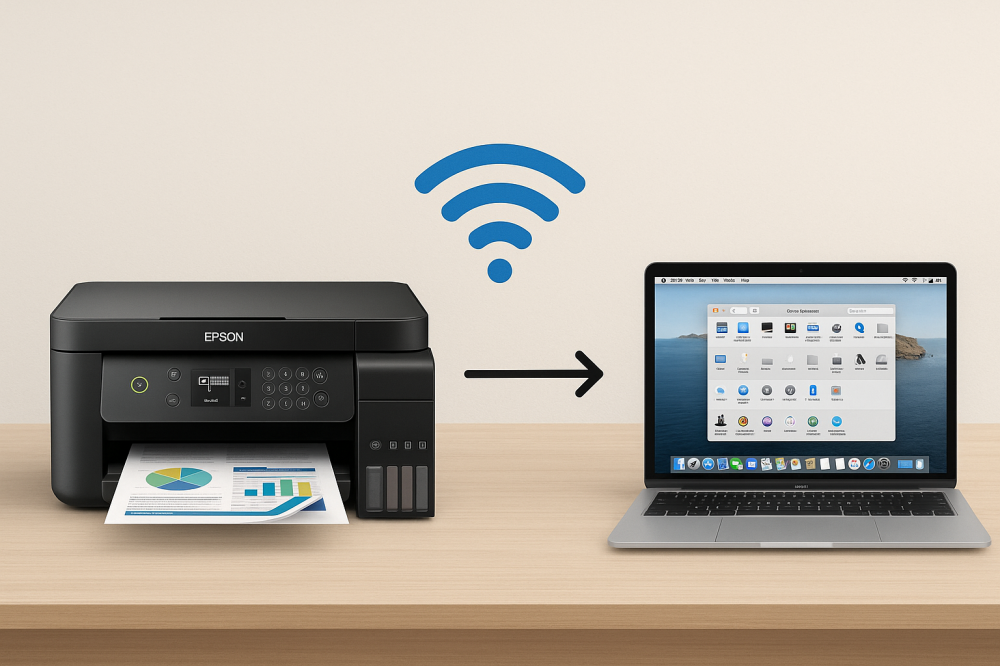
Description: If you just bought a new Epson printer and want to go wireless, connecting it to your Mac over WiFi is a simple process. Whether you're setting up for the first time or switching from a USB connection, taking the proper procedures assures seamless printing without the inconvenience of cords. Here's a comprehensive tutorial on connect Epson printer to MAC over WiFi.

- Prepare your Epson printer.
Before beginning the Epson printer setup, ensure your printer is turned on and has paper loaded. Also, make sure your WiFi network is up and running. Place the printer within range of your router to ensure a reliable connection.
- Connect the printer to WiFi.
- Select the WiFi Setup option from your Epson printer's control panel. Select the WiFi Setup Wizard.
- Choose your WiFi network's name (SSID) from the list.
- Enter your WiFi password, then confirm.
- Once connected, you'll get a confirmation message or the WiFi indicator light.
- Add Epson Printer to Mac.
- On your Mac, navigate to the Apple menu > System Preferences > Printers & Scanners.
- To add a new printer, simply click the "+" button.
- If your Epson printer is connected to the same WiFi network, it should show up in the list.
- Select it and then click Add. macOS will automatically download the necessary drivers.
- Test the connection.
Print a test page to ensure that everything works properly. If the printer does not appear, verify the WiFi connection or restart your devices.
Learning how to connect an Epson printer to a MAC over WiFi not only eliminates cable clutter, but also enables you to print from anywhere in your house or workplace. The Epson printer setup process is straightforward, and once completed, you can enjoy flawless wireless printing. For more details visit our website.


