

If you have recently acquired a Tenda router and wish to set it up for the first time, the procedure is straightforward and user-friendly. The key to properly configuring your Tenda router is to use its web interface, which may be accessed via tendawifi.com or the default IP address (often 192.168.0.1). This interface lets you personalize your Wi-Fi network, create a secure password, and change security settings.

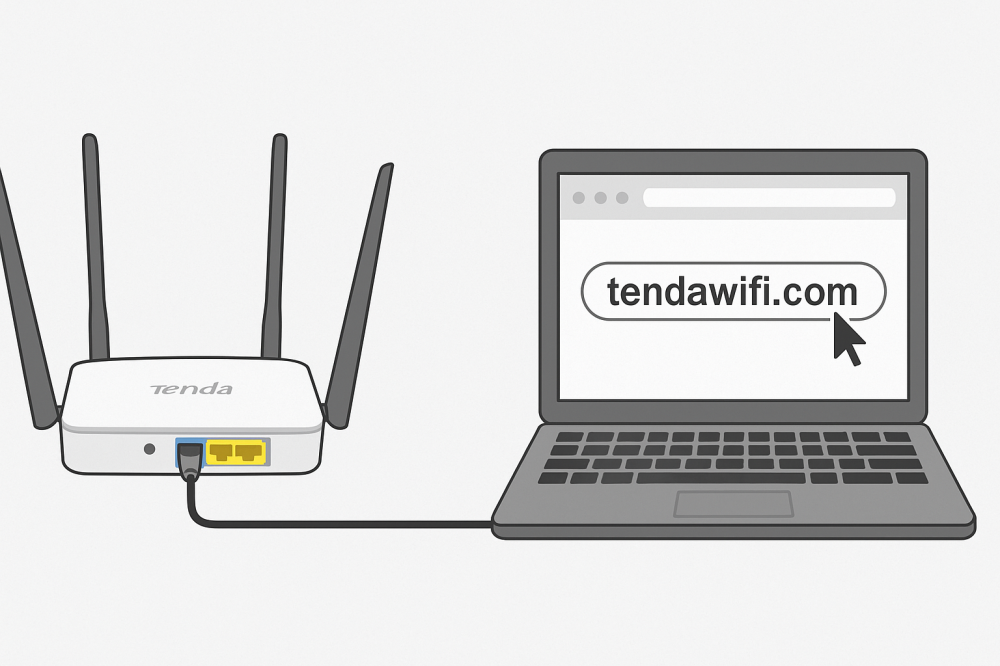
To begin, connect your PC, laptop, or smartphone to the Tenda router via a LAN cable or Wi-Fi connection. Once connected, use a web browser and enter tendawifi.com in the address box. This will take you to the Tenda Login page. If the web address does not work, try using the IP address (192.168.0.1) instead.
On the Tenda login screen, you will be asked to input your credentials. Many Tenda routers do not require a username by default, and the password can be "admin" or left blank depending on the model. After logging in, you will see the setup dashboard. Start your Tenda router configuration by entering a Wi-Fi name (SSID) and a strong password. Choose a strong password to prevent illegal access.

In addition to configuring your wireless network, the dashboard allows you to configure parental controls, upgrade firmware, and monitor connected devices. This ensures that your router works properly and protects your connection.
If you are having trouble visiting tendawifi.com, try clearing your browser cache, using a new browser, or resetting your router to factory settings. Following these instructions assures a seamless and hassle-free Tenda router setup, providing you with dependable internet connectivity in only a few minutes. Go to our webpage for more details.


