

Fixing minor scratches on a Tesla does not always require a visit to a collision center; many surface-level imperfections can be resolved using a high-quality paint repair kit or a fine polishing compound. For clear coat scratches that disappear when wet, a simple buffing process with a microfiber towel and scratch remover often restores the finish. Deeper scratches that penetrate the color layer generally require a two-step touch-up paint application to fill the void and seal the surface against corrosion.

This approach saves owners significant time and money while maintaining the vehicle's aesthetic appeal. Addressing these blemishes early prevents them from expanding or leading to oxidation, particularly on steel panels found on the Model 3 and Model Y. With the right materials and patience, restoring the sleek look of a Tesla is a manageable task for most owners.
Professional detailers and body technicians note that Tesla paint is generally softer than the hard clears found on German luxury vehicles. This characteristic makes the paint easier to correct when minor swirls or light scratches occur, but it also means the finish requires gentle handling during the repair process. Understanding the specific nature of this paint system is the first step toward a successful DIY repair.

Identifying the Scratch Depth
Before applying any products, an owner must identify which layer of the paint system is compromised. A Tesla paint job consists of the body panel (aluminum or steel), a primer layer, the base coat (color), and the clear coat (gloss protection). The repair method depends entirely on how deep the scratch goes.
The industry-standard "fingernail test" is the most reliable diagnostic tool. If a fingernail runs across the scratch without catching, the defect lies within the clear coat and can likely be polished out. If the fingernail catches slightly, the scratch has reached the base coat. If metal or grey primer is visible, the damage is deep and requires filling paint rather than just polishing.
Repair Methods by Severity
The following table outlines the appropriate strategy based on the depth of the damage.
|
Damage Level |
Visual Signs |
Recommended Repair Method |
Estimated DIY Cost |
|---|---|---|---|
|
Clear Coat |
Faint white line; disappears when wet |
Polishing Compound & Pad |
$20 - $40 |
|
Base Coat |
Color visible; fingernail catches |
Touch-Up Paint Kit |
$50 - $70 |
|
Deep Scratch |
Primer/Metal visible; deep groove |
Multi-Stage Paint & Clear |
$60 - $100 |
|
Panel Damage |
Dent accompanied by scratch |
Professional Assessment |
N/A |
Essential Tools and Preparation
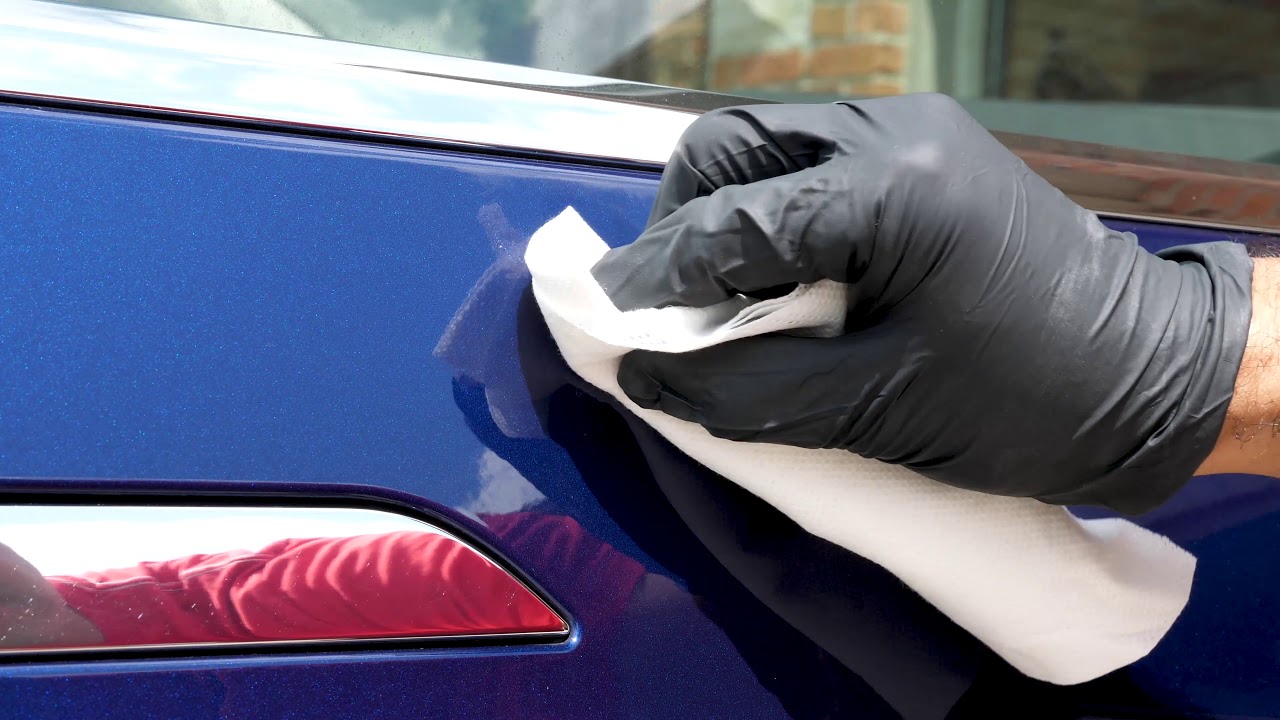
Success in paint repair comes from preparation rather than the application itself. The area must be surgically clean to ensure the new paint or compound bonds correctly. Any wax, grease, or ceramic coating residue will cause the repair to fail or flake off within weeks.
Owners should gather isopropyl alcohol (diluted to 50%), several clean microfiber towels, and the specific repair solution. For polishing, a dual-action polisher yields the best results, though hand polishing works for small areas. When sourcing paint, verify the color code located on the driver-side door jamb label. Common codes include PBSB for Solid Black and PPSW for Pearl White Multi-Coat.
Bonus Tip: Lighting Matters
Perform all inspections and repairs under high-intensity LED lighting or direct sunlight. Indoor garage lighting often hides micro-scratches that become painfully obvious once the car is driven outside.
The Repair Process: Clear Coat Scratches
For surface marks that have not penetrated the color, abrasion is the solution. The goal is to level the surrounding clear coat down to the bottom of the scratch, making the surface uniform again.
- Clean the Area: Wipe the surface with isopropyl alcohol to remove road grime.
- Apply Compound: Place a small amount of scratch remover or cutting compound on a microfiber applicator.
- Work the Product: Rub the area in a cross-hatch pattern (up-down, left-right) with moderate pressure. Do not use circular motions, as this can introduce swirl marks.
- Buff and Inspect: Wipe away the residue with a clean towel. If the scratch is still visible, repeat the process.
- Polish: Finish with a finer polish to restore maximum gloss.
The Repair Process: Deep Scratches
When the paint is missing, polishing will not help. You must add material back to the panel. Tesla sells a dedicated Paint Repair Kit, but high-quality aftermarket kits from Dr. ColorChip or Chipex are also widely used by enthusiasts.
The process involves applying the paint to the chip or scratch and then leveling it. Unlike traditional methods where paint is blobbed on and left to dry, modern systems use a blending solution. After applying the paint, a special solvent is used to gently wipe away the excess that sits on top of the clear coat, leaving paint only inside the scratch itself.
For "Pearl White Multi-Coat" (PPSW) and "Red Multi-Coat" (PPMR), the color match can be challenging. These colors rely on multiple translucent layers to achieve their depth. A single bottle of touch-up paint often appears flat or slightly darker than the factory finish. In these cases, building the paint up in very thin layers yields a better result than one thick application.
Regional and Environmental Considerations
The environment plays a significant role in how well a repair cures.
High Heat Regions: In areas like Arizona or Texas, surface temperatures of a car sitting in the sun can exceed 150°F. Never attempt paint repair on a hot panel. The solvents will evaporate too quickly, causing the paint to clump and texture to form. Move the vehicle into a shaded area and allow the metal to cool before starting.
Cold Climates: In colder regions, paint thickens and cures slowly. If the temperature is below 60°F, the bond between the new paint and the old surface may be weak. Using a hair dryer to gently warm the panel (not hot, just warm to the touch) can improve adhesion.
Things to Consider Before Making a Decision
Before attempting a DIY fix, owners should weigh the risks.
Lease Returns: If the vehicle is a lease, Tesla provides specific guidelines on "excess wear and tear." Scratches smaller than a credit card are often considered acceptable. Attempting a sloppy repair might draw more attention to the defect and result in penalties, whereas leaving a minor mark might cost nothing.
Resale Value: A poorly executed touch-up with visible brush strokes or color mismatch looks worse to a buyer than an honest scratch. If the scratch is long or crosses multiple panels, a professional service might be the safer investment to protect the vehicle's value.
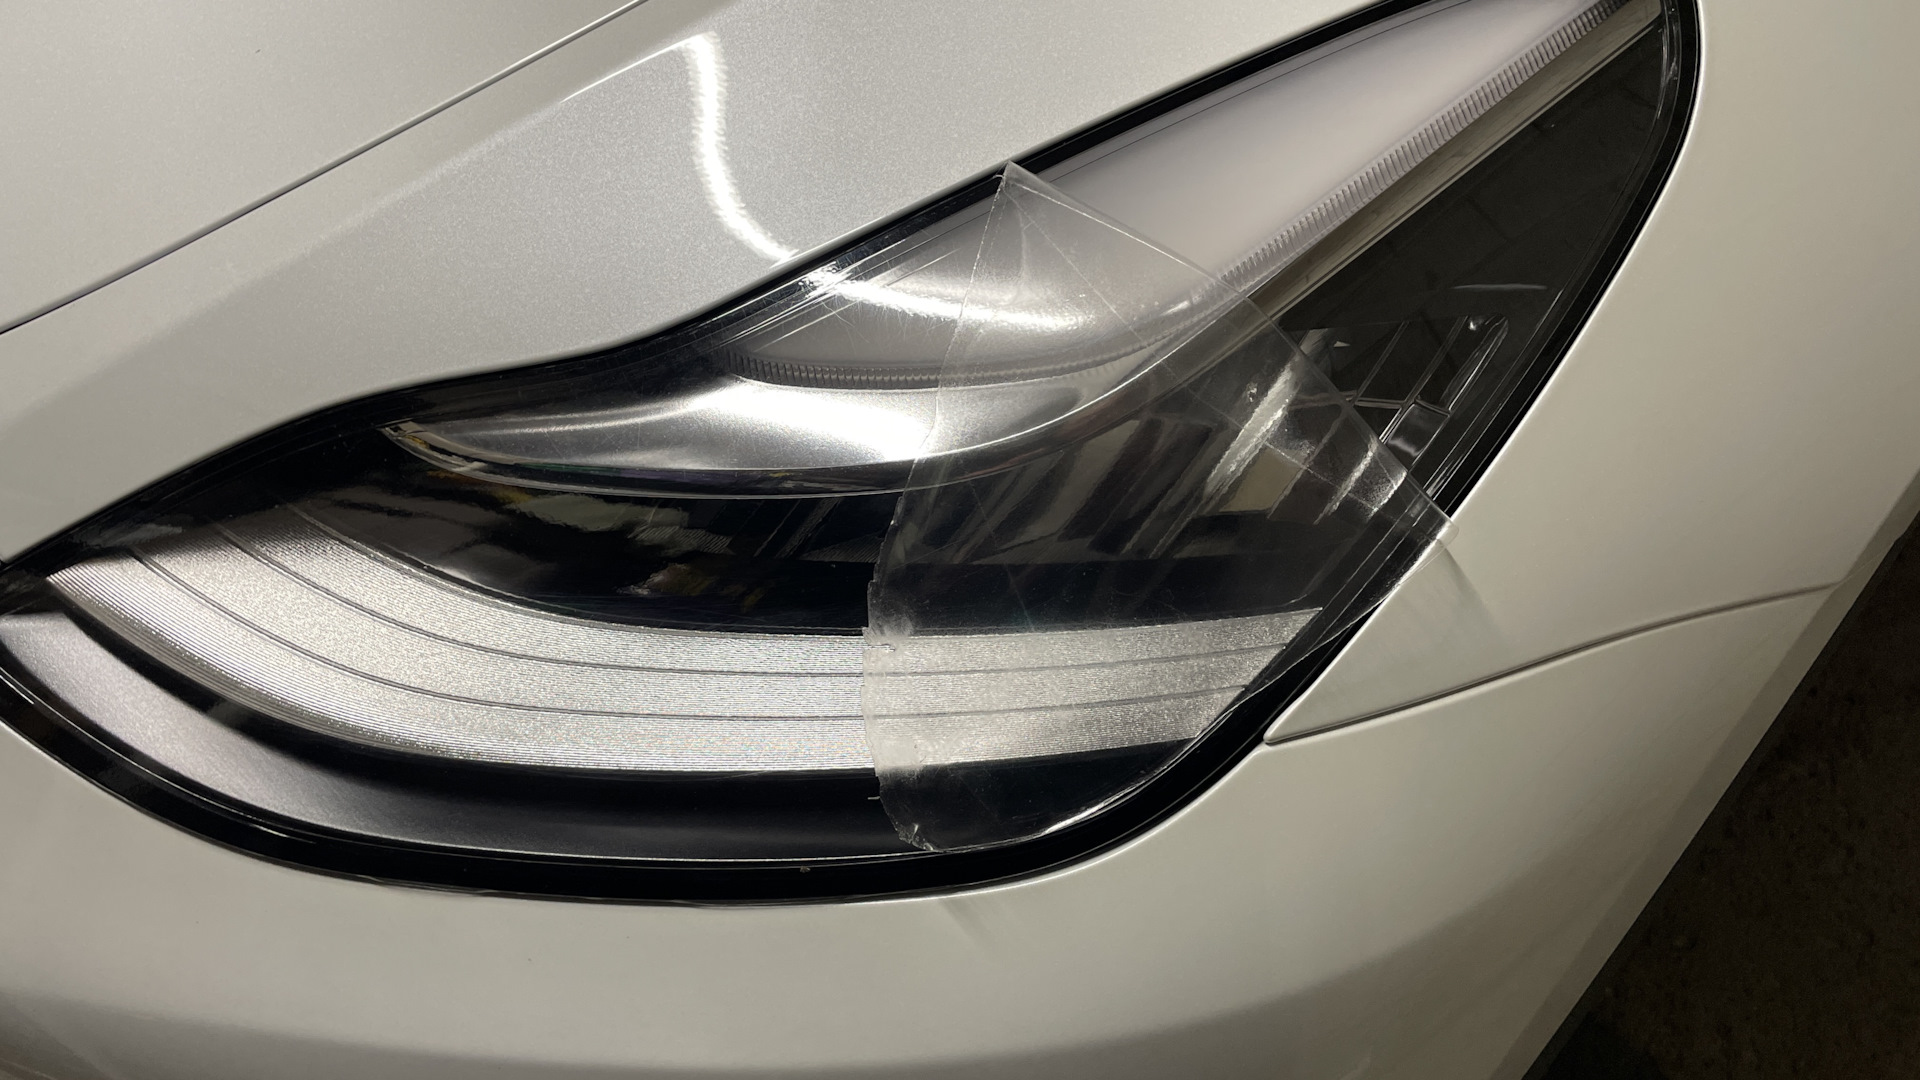
Safety Sensors: Tesla bumpers are packed with ultrasonic sensors (on older models) and cameras. Avoid painting over any circular sensors or camera lenses. Even a thin layer of paint can interfere with the vehicle's Autopilot or parking assist features.
Questions People Ask About Scratch Repair
Will toothpaste remove scratches? Toothpaste acts as a very mild abrasive, similar to a finishing polish. While it might improve very faint scuffs on plastic headlights, it is generally ineffective for clear coat scratches on modern automotive paint and is hard to remove completely.
Does using touch-up paint void the warranty? No, using touch-up paint does not void the vehicle warranty. However, if a DIY repair causes damage—such as sanding through the clear coat or damaging a sensor—that specific damage will not be covered by Tesla.
Can I fix a scratch if my car has a ceramic coating? Repairing a scratch on a coated car is difficult because the coating prevents the new paint from bonding. The ceramic layer must be polished off the immediate area before any paint repair can be attempted, and then the coating must be reapplied.
How long does the repair take to dry? Most touch-up paints are dry to the touch within 30 to 60 minutes. However, full curing (hardening) takes about 24 to 48 hours. It is advisable to avoid washing the car or exposing it to rain for at least two days after the repair.
Is it worth buying the official Tesla Paint Repair Kit? The official kit is convenient and ensures the color code is correct. However, for difficult colors like Pearl White, some owners find that aftermarket multi-step kits offer better blending capabilities and color matching.

Final Thoughts
Maintaining the exterior of a Tesla does not require professional intervention for every minor imperfection. By correctly identifying the scratch type and using the appropriate materials, owners can effectively reduce the visibility of cosmetic damage. This proactive maintenance keeps the vehicle looking new and prevents minor issues from becoming rust problems later on.
Assess the damage honestly. If the scratch is down to the metal and spans a large area, or if the panel is dented, the limits of DIY repair have likely been reached. For everything else, a steady hand and the right compound are usually sufficient to erase the evidence of daily driving hazards.
Need Professional Assistance?
Sometimes a scratch is too deep for a simple kit, or an owner may prefer a professional touch to ensure a flawless finish. Quality Tesla Service offers expert cosmetic evaluations and repair services designed specifically for Tesla vehicles. Their team understands the nuances of multi-coat paint systems and can advise on the most effective repair strategy.
For owners who want to ensure their vehicle receives the best care, contacting a specialist is a smart move. They can be reached at (215) 355-5019 or by email at info@qualitycarstar.com for consultations regarding paint defects and exterior maintenance.


